Last Updated on October 6, 2026
Every answer you will find for this question is a different number. Half a cup of water per gallon is 3.1%. The usual advice is 5 to 10%. A forum will tell you 5 or 6 parts paint to 1 part thinner, which is 17 to 20%. An automotive video will say 1:1, which is 50%. That is a 16-fold spread for one question, and none of it is wrong.
They are describing different paints going through different guns. Separate those two variables and every figure lands in its own row. Latex through a full-size airless needs nothing at all. The same latex through a handheld needs 5 to 10%. An automotive basecoat needs 25 to 40% reducer. They are not competing answers to one question; they are single answers to four.
And the ratio is only the input. What your gun actually reacts to is how many seconds the mix takes to drain out of a cup, and that is the only figure that carries across brands, cans and days.

Mixing ratios by paint type
How to mix paint for a spray gun starts here, then gets proved with the cup test further down. These are opening positions, not finished answers — the can and the sprayer manual outrank the table.
| Paint | Thin with | Starting ratio | Target run-out, Ford #4 |
|---|---|---|---|
| Latex, water-based | Clean water | 10% by volume, 1 part water to 9 parts paint, up to 1:4 for small guns | 25–30 sec |
| Acrylic | Clean water or an acrylic thinner | 10% by volume | 20–25 sec |
| Oil-based, enamel | Mineral spirits or paint thinner | 10–15% by volume — less than you would use with water | 25–30 sec |
| Automotive basecoat | Reducer matched to shop temperature | 25–40% — read the sheet, see below | 14–20 sec |
| Lacquer, wood finish | Lacquer thinner | 10–20% by volume | 15–22 sec |
The automotive row is the one most often printed wrong. The figure repeated across video and forum results is 1:1, which is 50% reducer. The two basecoat sheets checked for this page call for 3 parts color to 1 part reducer plus 3% hardener, and 60:40 color to reducer. That is 25% and 40%. Neither is 1:1, and the gap between those two sheets alone is 15 percentage points, so a ratio pulled off a video is not transferable to the product in your hand.
For the latex and oil-based rows, the arithmetic of actually measuring those percentages — and what each ounce of water costs you in film thickness — is worked through in the latex thinning ratios in fluid ounces and thinning oil-based paint for a spray gun.
What your gun is rated for, in seconds
A ratio tells you what you poured in. A cup reading tells you what you have, which is what the gun responds to. Guns are rated in seconds, and the ratings are not interchangeable.
| Gun | What it is rated for | How you check it |
|---|---|---|
| Full-size airless, .017–.021 in tip | No cup rating published — the pump atomizes full-bodied paint unaided | No test needed — thinning a full-size airless costs film for nothing |
| Handheld or small airless | No cup rating — thinning is set as a percentage | Follow the sprayer manual; even 100% acrylic latex may need thinning on a small handheld machine |
| HVLP turbine with its own cup | 20–40 DIN seconds, with 40 the machine ceiling | The cup supplied in the box, not a cup from another kit |
| HVLP cup gun, automotive | 14–20 seconds, Ford #4 | The coating sheet sets the number, not the gun |
| Conventional siphon or gravity gun | 15–30 seconds, Zahn #2 | A Zahn #2 cup |
| Turbine station with a flow cup | Under 180 seconds on its supplied cup | That cup only |
Look at the two HVLP rows. One machine wants a reading of 20 to 40. Another wants a reading under 180. They are the same class of tool and the readings differ by more than four times, because the cups are different sizes with different orifices. A number without its cup is not a measurement.
How to run the cup test
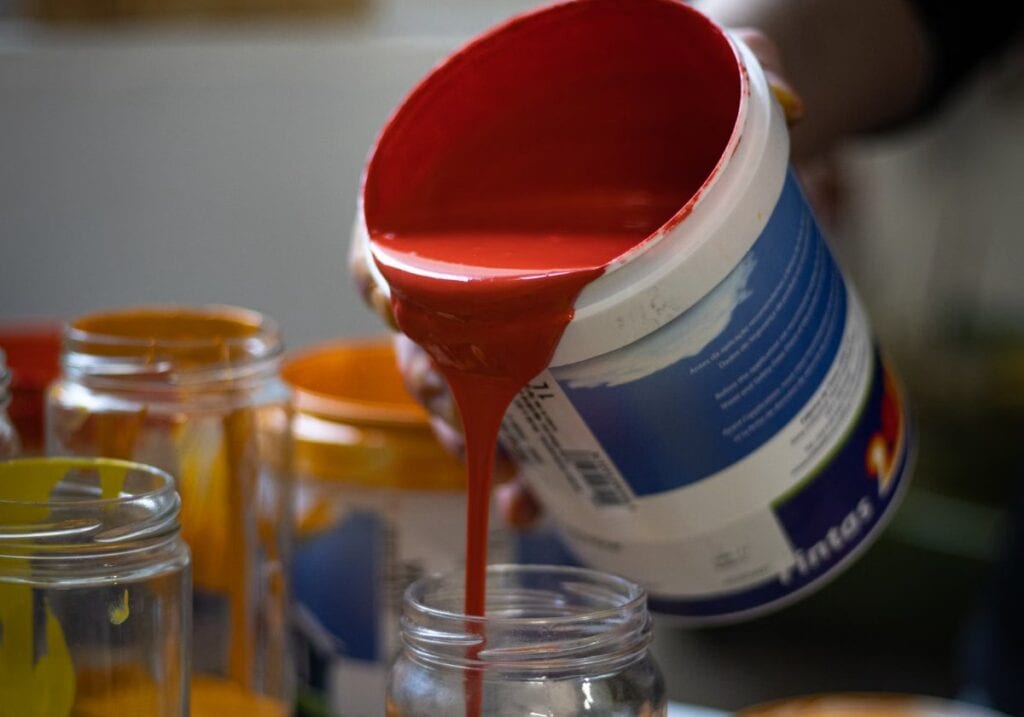
- Stir the paint in its own tin until the pigment at the bottom is fully back in suspension. Anything you measure before that is a reading of the thin stuff on top.
- Pour what you need into a clean container. Never thin in the original tin — you cannot undo it.
- Dip a clean, dry cup under the surface until it fills completely, then lift it clear. A cup still wet from the last reading runs 2 to 3 seconds fast.
- Start the timer the moment the cup breaks the surface. Stop it the moment the stream running out breaks into drips. That break is the reading, not the last drop.
- Compare against the row for your gun above. Too slow, add thinner in 5% steps and re-measure. Too fast, you have gone past it and the only fix is more paint. Run it twice — 2 readings more than 1 second apart mean the paint was not stirred out.
- Write the final ratio, the seconds and the shop temperature on masking tape and stick it to the can. Cups are certified at 25°C, so the temperature is half the reading.
Step 6 is the one people skip and the one that saves the second coat. The mix that worked is only reproducible if you recorded the conditions it worked in.
Temperature moves the reading more than small ratio changes do
Coatings measured in a flow cup change viscosity by roughly 3 to 8% for every degree Celsius, and the calibration oils used to certify the cups average over 5% per degree. Work that through: a 10°C difference between a cold garage in the morning and the same garage at four in the afternoon is a 30 to 80% change in the reading, with nothing added to the can.
That is why the same mix sprays beautifully one day and orange-peels the next, and why a ratio quoted with no temperature is not a specification. Automotive sheets state theirs: 14 to 16 seconds at 68°F. The temperature is part of the number.
It also sets a practical rule for cold paint. Let it reach room temperature before you measure, or you will thin a cold tin to hit the target and end up with a mix that is far too thin once the shop warms up.
Your cup has an accuracy window
A Ford #4 holds its rated accuracy between 25 and 100 seconds; a Ford #3 between 22 and 120; a Ford #2 between 40 and 100. Readings outside that band are still readings, but the error grows. The automotive basecoat target of 14 to 16 seconds sits below the Ford #4 window, which is why a single second matters so much at that end — you are working where the cup is least precise. Cup makers publish the accuracy ranges and the temperature sensitivity, and they are worth reading once before you trust a borrowed cup.
Converting between cup types is not a clean escape either. A 20-second reading on a Zahn #2 maps to anywhere from about 20 to 45 centipoise depending on which conversion table you pick — a factor of more than two. Use the cup your gun was rated with and the conversion problem disappears.
6 psi or 30 psi? Both numbers are right
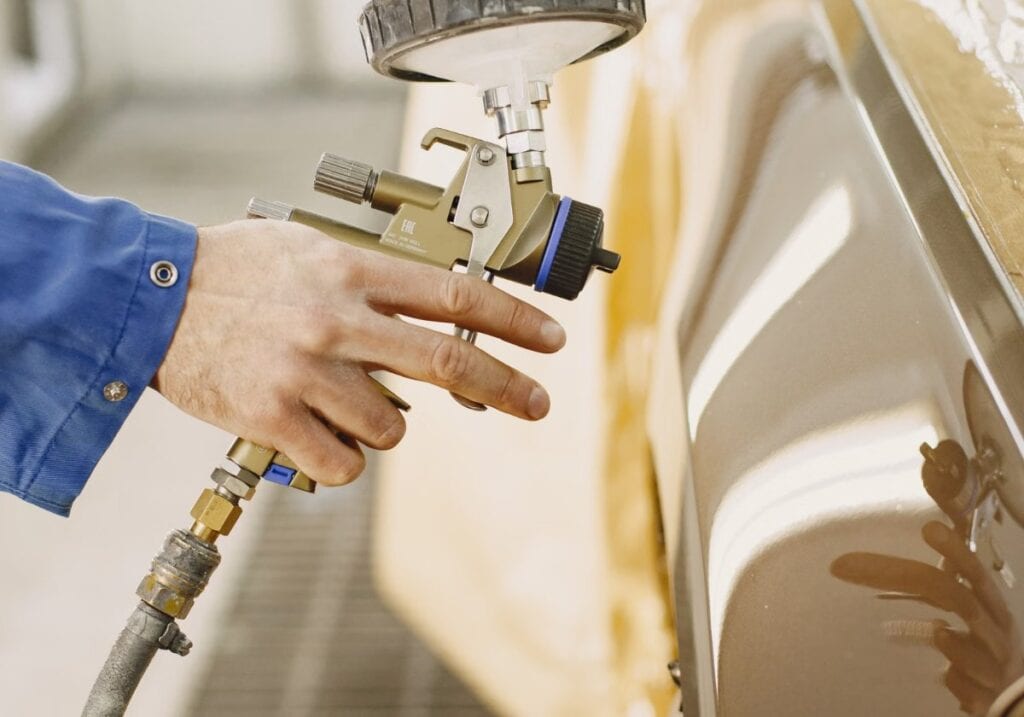
One basecoat sheet calls for 6 to 10 psi. Another calls for 30 psi. Both are correct, and the difference is where the gauge sits. HVLP is defined by pressure at the air cap — 10 psi or less is what makes a gun HVLP. The 30 psi figure is pressure at the gun inlet, before the gun converts it to high volume at low pressure inside.
So the practical answer to whether thick paint wants low or high pressure: raise the pressure and you atomize a thicker mix, but you also throw more of it past the panel. Cap pressure is capped by the gun’s design, so on an HVLP the adjustment you have is inlet pressure and fluid needle, not cap pressure. On a conventional gun there is no cap limit and pressure is the main lever — which is also why conventional guns waste far more paint.
Fluid tip is the other half. The two basecoat sheets specify 1.3 to 1.5 mm and 1.2 to 1.4 mm. A tip a size too small will not pass a correctly-mixed coating no matter what pressure you run, and thinning to compensate is how people end up with runs. If you are choosing a gun rather than a setting, the tip sizes that come with budget HVLP guns are worth checking before you buy.
Coats, flash time and pot life come off the same sheet
The mix is half the specification. The two basecoat sheets also set everything that happens after it:
| Sheet A | Sheet B | |
|---|---|---|
| Mix ratio | 3:1 plus 3% hardener | 60:40, or 1.5:1 |
| Spray viscosity | 14–16 sec, Ford #4, at 68°F | Over 20 sec, Ford #4 |
| Pressure | 6–10 psi at the cap | 30 psi at the inlet |
| Fluid tip | 1.3–1.5 mm | 1.2–1.4 mm |
| Coats | 2–3 wet coats | 3–5 medium wet coats plus a 50% control coat |
| Flash between coats | 5–10 min at 68°F | 10–15 min at 77°F |
| Pot life | 24 hours at 68°F | Not applicable |
Two products in the same category, and there is not a single row where the numbers match. That is the argument against mixing to a remembered ratio: the sheet in the box is the only one that describes what is in your gun.
Mixing it, start to finish

- Stir for 2 minutes, not 20 seconds. Settled pigment and extender sit at the bottom of a can that has stood for a week, and a quick swirl moves the top third only.
- Decant, never thin the can. Pour out roughly what one cup or hopper holds and work on that. If the mix goes wrong you have lost a cupful, not a gallon.
- Measure by volume, not by eye. 10% of 32 fl oz is 3.2 oz. A kitchen measuring jug costs less than a wasted quart.
- Add in steps. Half the thinner, stir, measure. Then 5% at a time. Thinning is a one-way door — going back means adding unthinned paint you may not have.
- Strain into the gun. A 190 micron cone filter, roughly 60 mesh, or a nylon stocking catches the skin and dried flakes that cause most mid-job clogs, and a respirator rated for paint mist goes on before the gun does. This takes 15 seconds and prevents the one failure that forces a strip-down.
- Test on cardboard before the work. One pass at your working distance tells you more than any ratio. Then clean the gun properly — dried paint in the passages changes the spray pattern on the next job and gets blamed on the mix.
What to thin with matters as much as how much. Water for latex and acrylic, mineral spirits or paint thinner for oil-based and enamel, lacquer thinner for lacquer, and the manufacturer’s matched reducer for automotive coatings. Using paint thinner properly covers which solvent suits which binder, and what happens when you get it wrong.
If the spray pattern is wrong, read this before adding more thinner
Most spray faults get blamed on the mix, and most of them are not. Find the symptom before you reach for the thinner, because thinning a mix that was already correct costs film thickness you cannot get back.
Orange peel, a dimpled finish
Check distance first: 6 to 8 inches is right and most people stand further back than that. Then raise the pressure a step. Only if both are right is the paint genuinely too thick — and remember that a 5°C drop in the shop will push the reading up 15 to 40% on its own.
Runs and sags
Almost always technique. Too close, moving too slowly, or overlapping more than 50%. If the cup reading is inside the gun’s range, the mix is not the problem.
Spitting and spattering
Usually air in the fluid line: a loose fluid nozzle, a dry packing, or the cup lid not seated. On a siphon gun, check the vent hole in the lid is clear before anything else.
Dry, gritty finish
The coating is drying before it lands. Move closer, drop the pressure, or use a slower reducer. On automotive work reducers are sold by temperature band for exactly this reason.
Tiny bubbles in the dried film
Over-stirring whipped air into the mix, or you sprayed too soon after stirring. Let a stirred mix stand for 5 to 10 minutes before it goes in the gun.
Repeated clogging
You did not strain it, or the tip is too small for the coating. A 1.2 mm tip will not pass a correctly-mixed primer; the fix is a bigger tip, not a thinner mix.
Frequently asked questions
What ratio do you mix paint for a spray gun?
It depends on the paint, and the honest range is 0 to 40%. Latex and acrylic start at 10% by volume. Oil-based and enamel take 10 to 15%, because solvent thins further than water does. Lacquer takes 10 to 20%. Automotive is the outlier: the 2 basecoat sheets checked here call for 3:1 plus 3% hardener and 60:40, which is a quarter to two fifths reducer by volume. A full-size airless with a .017 to .021 inch tip takes none at all — the pump does the work that thinning would otherwise do.
How do I dilute paint for a spray gun?
Decant first, because thinning is a one-way door. Pour out what the cup holds, add half the thinner you expect to need, stir for 60 seconds, then measure. Work up in 5% steps from there, re-measuring each time. 6 smaller additions get you to the right number; 1 large one overshoots it, and the only correction is adding unthinned paint back.
What do you mix with paint to use a sprayer?
Water for latex and acrylic. Mineral spirits or paint thinner for oil-based and enamel. Lacquer thinner for lacquer. The manufacturer’s matched reducer for automotive coatings, chosen by shop temperature. For latex that will not level rather than will not atomize, a conditioner does a different job from water and is the better tool — water fixes viscosity, a conditioner fixes flow.
How much thinner do I mix with paint?
Measure it rather than pour it: 10% of a 32 fl oz cup is 3.2 fl oz, and 10% of a US gallon is 12.8 fl oz. The percentage is only the starting point though. Stop adding when the cup reading hits the band your gun is rated for — 20 to 40 DIN seconds on a turbine, 15 to 30 on a Zahn #2, 14 to 20 on a Ford #4 for automotive work.
Do I spray thick paint at a low or high psi?
Higher, but only up to the limit your gun design allows. An HVLP gun is defined by 10 psi or less at the air cap, so the lever you actually have is inlet pressure, typically around 30 psi, plus the fluid needle. A conventional gun has no cap limit and responds directly to pressure, which is why it atomizes thick material more easily and wastes far more of it. Raising pressure to cope with an over-thick mix always costs overspray.
Can I use rubbing alcohol as a paint thinner?
No. Isopropyl alcohol boils at 180°F against water’s 212°F, so it flashes out of the film far faster and leaves you with dry spray and a gritty surface. Rubbing alcohol is also 30% water at 70% strength, so you are adding 2 solvents in a ratio you did not choose and cannot repeat. Use the solvent that matches the binder.
The short version

How to mix paint for a spray gun, in 4 lines: start at 10% for latex, acrylic and lacquer, 10 to 15% for oil-based, 25 to 40% for automotive basecoat, and nothing at all for a full-size airless. Then stop using the ratio and use the cup: 20 to 40 DIN seconds on a turbine, 15 to 30 on a Zahn #2, 14 to 20 on a Ford #4 for automotive.
Write the ratio, the seconds and the shop temperature on the can, because a 10°C swing moves the reading 30 to 80% and will otherwise look like a mystery the following morning. And when the pattern goes wrong, check distance, pressure and the strainer before you add anything.

Very informative article. It elivated my hitch to hold a spraygun. I’ll be using spray gun on square pipes to errect a Polyhouse
Great, I need more information on spray painting. As an artist I want to use this medium for painting object and canvas
Thank you
Rees Phillips